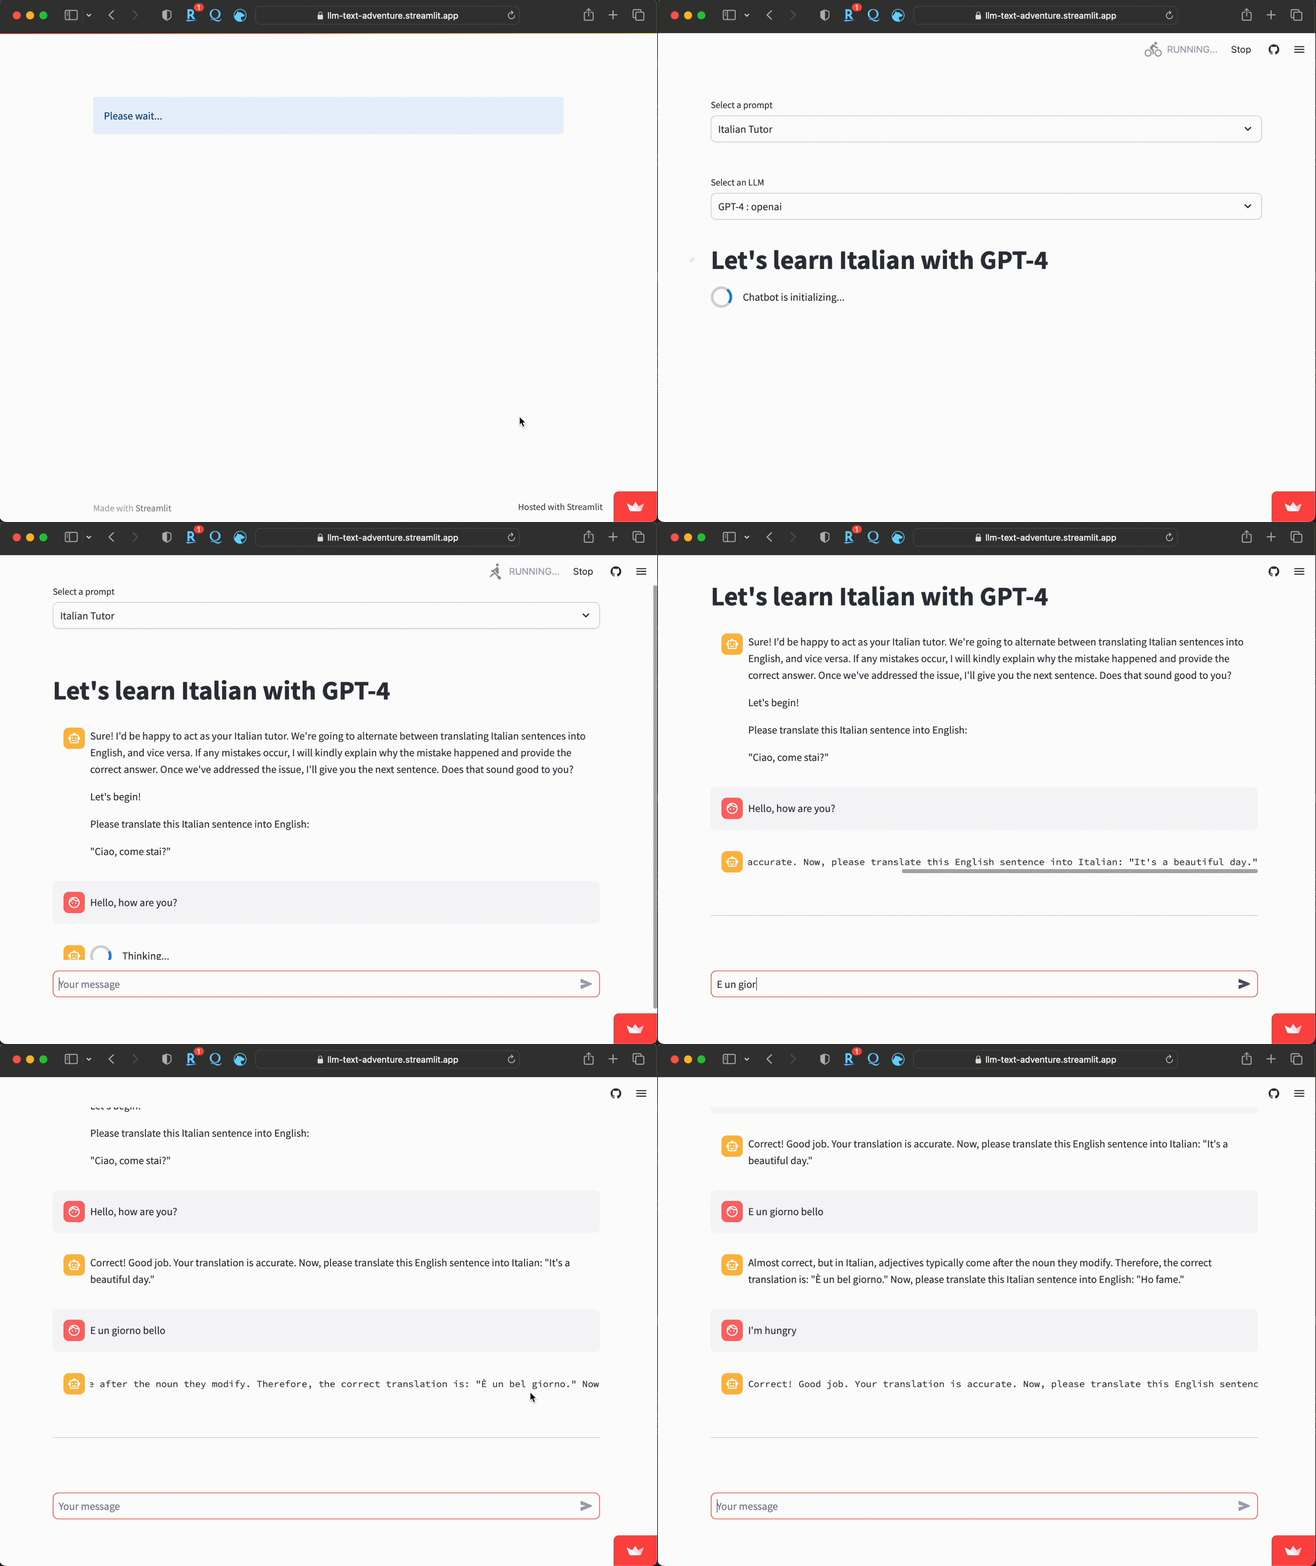
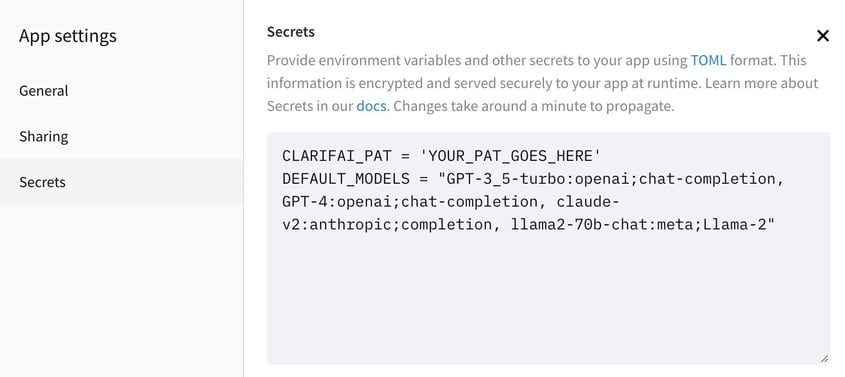
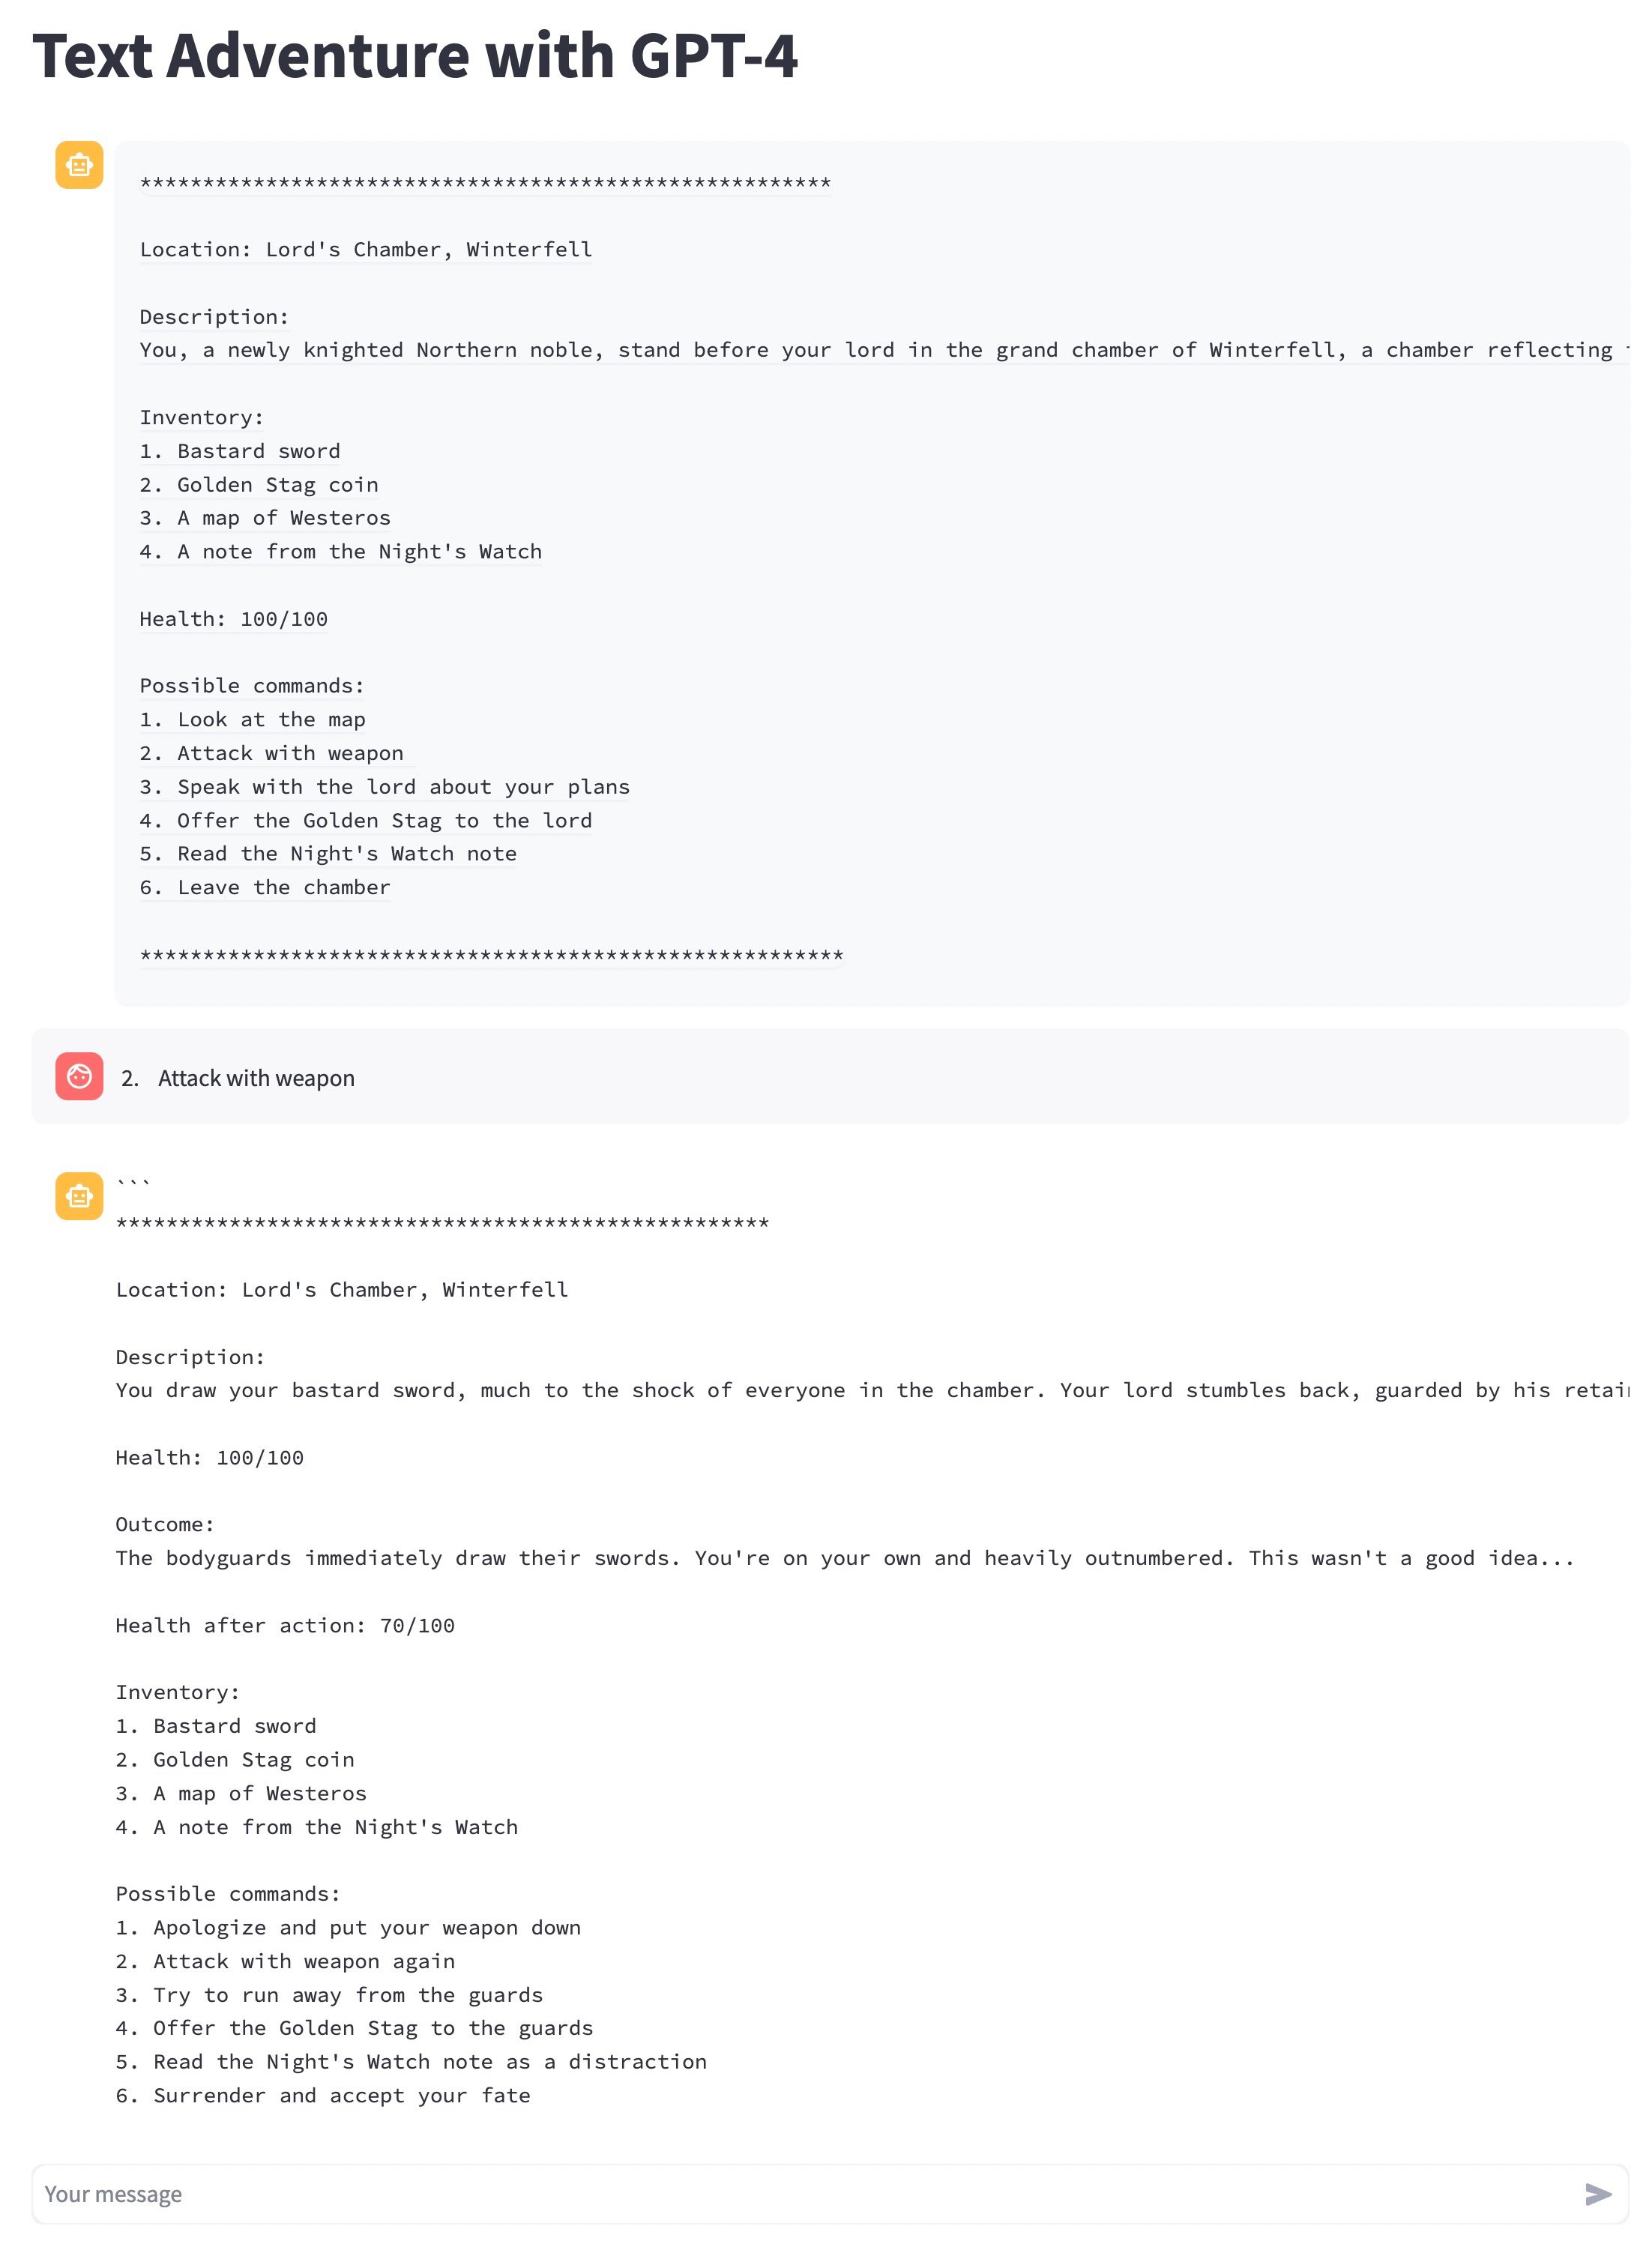
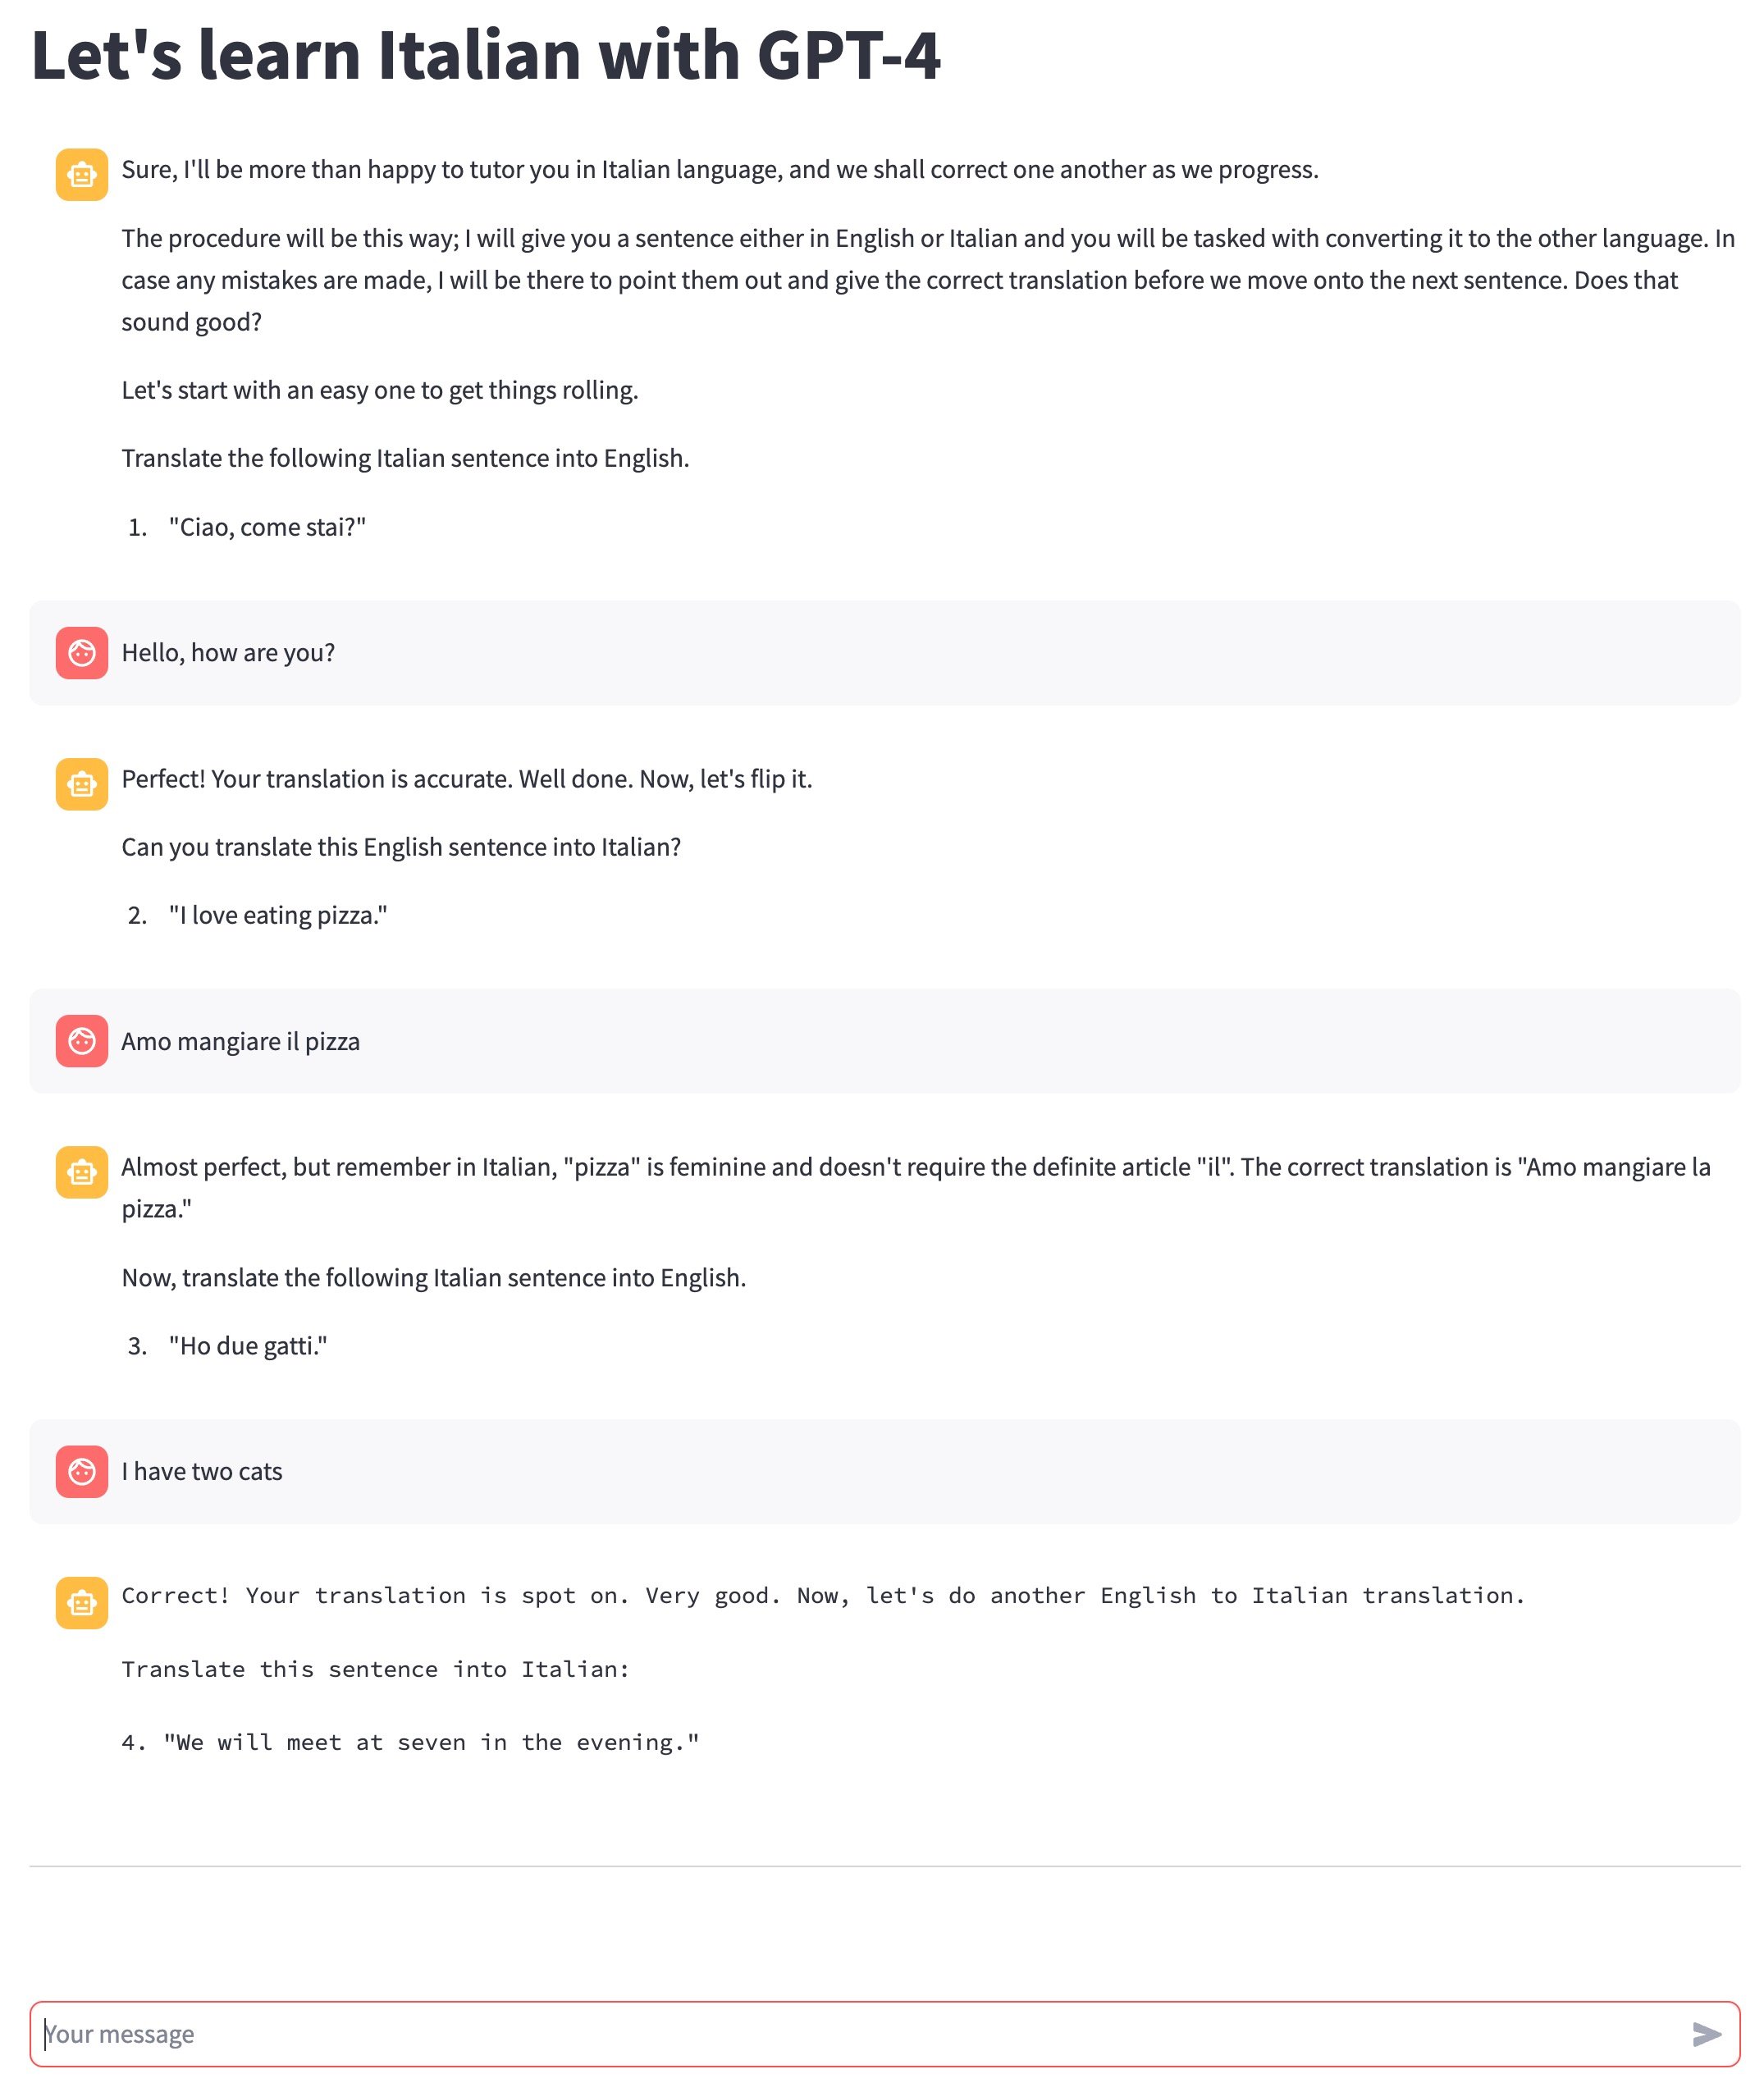
|
import streamlit as st |
|
from prompts import instructions_data |
|
from clarifai_utils.modules.css import ClarifaiStreamlitCSS |
|
from langchain.llms import OpenAI |
|
from langchain.agents import AgentType, initialize_agent, load_tools |
|
from langchain.callbacks import StreamlitCallbackHandler |
|
from langchain.llms import Clarifai |
|
from langchain import PromptTemplate, LLMChain |
|
from langchain.chains import ConversationChain |
|
from langchain.memory import ConversationBufferMemory, ChatMessageHistory |
|
from langchain.schema import HumanMessage, AIMessage |
|
import streamlit.components.v1 as components |
|
|
|
st.set_page_config(layout="wide") |
|
|
|
def load_pat(): |
|
if 'CLARIFAI_PAT' not in st.secrets: |
|
st.error("You need to set the CLARIFAI_PAT in the secrets.") |
|
st.stop() |
|
return st.secrets.CLARIFAI_PAT |
|
|
|
|
|
def get_default_models(): |
|
if 'DEFAULT_MODELS' not in st.secrets: |
|
st.error("You need to set the default models in the secrets.") |
|
st.stop() |
|
|
|
models_list = [x.strip() for x in st.secrets.DEFAULT_MODELS.split(",")] |
|
models_map = {} |
|
select_map = {} |
|
for i in range(len(models_list)): |
|
m = models_list[i] |
|
id, rem = m.split(':') |
|
author, app = rem.split(';') |
|
models_map[id] = {} |
|
models_map[id]['author'] = author |
|
models_map[id]['app'] = app |
|
select_map[id+' : '+author] = id |
|
return models_map, select_map |
|
|
|
# After every input from user, the streamlit page refreshes by default which is unavoidable. |
|
# Due to this, all the previous msgs from the chat disappear and the context is lost from LLM's memory. |
|
# Hence, we need to save the history in seession_state and re-initialize LLM's memory with it. |
|
def show_previous_chats(): |
|
# Display previous chat messages and store them into memory |
|
chat_list = [] |
|
for message in st.session_state['chat_history']: |
|
with st.chat_message(message["role"]): |
|
if message["role"] == 'user': |
|
msg = HumanMessage(content=message["content"]) |
|
else: |
|
msg = AIMessage(content=message["content"]) |
|
chat_list.append(msg) |
|
st.write(message["content"]) |
|
conversation.memory.chat_memory = ChatMessageHistory(messages=chat_list) |
|
|
|
def chatbot(): |
|
if message := st.chat_input(key="input"): |
|
st.chat_message("user").write(message) |
|
st.session_state['chat_history'].append({"role": "user", "content": message}) |
|
with st.chat_message("assistant"): |
|
with st.spinner("Thinking..."): |
|
response = conversation.predict(input=message, chat_history=st.session_state["chat_history"]) |
|
# llama response format if different. It seems like human-ai chat examples are appended after the actual response. |
|
if st.session_state['chosen_llm'].find('lama') > -1: |
|
response = response.split('Human:',1)[0] |
|
st.text(response) |
|
message = {"role": "assistant", "content": response} |
|
st.session_state['chat_history'].append(message) |
|
st.write("\n***\n") |
|
|
|
prompt_list = list(instructions_data.keys()) |
|
pat = load_pat() |
|
models_map, select_map = get_default_models() |
|
default_llm = "GPT-4" |
|
llms_map = {'Select an LLM':None} |
|
llms_map.update(select_map) |
|
|
|
chosen_instruction_key = st.selectbox( |
|
'Select a prompt', |
|
options=prompt_list, |
|
index=(prompt_list.index(st.session_state['chosen_instruction_key']) if 'chosen_instruction_key' in st.session_state else 0) |
|
) |
|
|
|
# Save the chosen option into the session state |
|
st.session_state['chosen_instruction_key'] = chosen_instruction_key |
|
|
|
if st.session_state['chosen_instruction_key'] != "Select a prompt": |
|
instruction_title = instructions_data[chosen_instruction_key]['title'] |
|
instruction = instructions_data[chosen_instruction_key]['instruction'] |
|
|
|
ClarifaiStreamlitCSS.insert_default_css(st) |
|
|
|
with open('./styles.css') as f: |
|
st.markdown(f"<style>{f.read()}</style>",unsafe_allow_html=True) |
|
|
|
if 'chosen_llm' not in st.session_state.keys(): |
|
chosen_llm = st.selectbox(label="Select an LLM", options=llms_map.keys()) |
|
if chosen_llm and llms_map[chosen_llm] is not None: |
|
if 'chosen_llm' in st.session_state.keys(): |
|
st.session_state['chosen_llm'] = None |
|
st.session_state['chosen_llm'] = llms_map[chosen_llm] |
|
|
|
if "chosen_llm" in st.session_state.keys(): |
|
cur_llm = st.session_state['chosen_llm'] |
|
st.title(f"{instruction_title} {cur_llm}") |
|
llm = Clarifai(pat=pat, user_id=models_map[cur_llm]['author'], app_id=models_map[cur_llm]['app'], model_id=cur_llm) |
|
else: |
|
llm = Clarifai(pat=pat, user_id="openai", app_id="chat-completion", model_id=default_llm) |
|
|
|
# Access instruction by key |
|
instruction = instructions_data[st.session_state['chosen_instruction_key']]['instruction'] |
|
|
|
template = f"""{instruction} + {{chat_history}} |
|
Human: {{input}} |
|
AI Assistant:""" |
|
|
|
prompt = PromptTemplate(template=template, input_variables=["chat_history", "input"]) |
|
|
|
template = f"""{instruction} + {{chat_history}} |
|
Human: {{input}} |
|
AI Assistant:""" |
|
|
|
conversation = ConversationChain( |
|
prompt=prompt, |
|
llm=llm, |
|
verbose=True, |
|
memory=ConversationBufferMemory(ai_prefix="AI Assistant", memory_key="chat_history"), |
|
) |
|
|
|
# Initialize the bot's first message only after LLM was chosen |
|
if "chosen_llm" in st.session_state.keys() and "chat_history" not in st.session_state.keys(): |
|
with st.spinner("Chatbot is initializing..."): |
|
initial_message = conversation.predict(input='', chat_history=[]) |
|
st.session_state['chat_history'] = [{"role": "assistant", "content": initial_message}] |
|
|
|
if "chosen_llm" in st.session_state.keys(): |
|
show_previous_chats() |
|
chatbot() |
|
|
|
st.markdown( |
|
""" |
|
<style> |
|
.streamlit-chat.message-container .content p { |
|
white-space: pre-wrap !important; |
|
word-wrap: break-word !important; |
|
overflow-wrap: break-word !important; |
|
} |
|
.output { |
|
white-space: pre-wrap !important; |
|
} |
|
</style> |
|
""", |
|
unsafe_allow_html=True, |
|
) |


