-
Careers

-

AI Compute Orchestration
Create and control your AI workloads on any compute infrastructure
🔥 Just Launched
Introducing the AI Playground — Your LLM Battleground to Test Powerful AI Models!


Why Zapier and Clarifai
How to create a free Clarifai account
Go to the sign-up page, enter your login details, and press “Sign up”. After verifying your email, you will be redirected to the Portal. Portal is the place where you can create and configure AI applications using dozens of pre-built models (now with hundreds more from the AI Community).
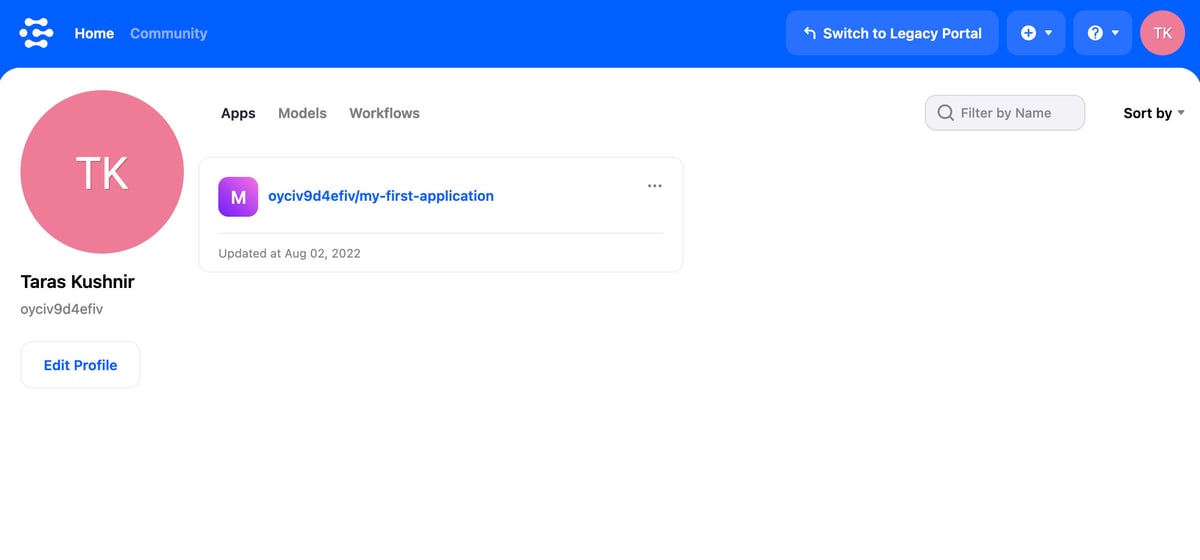
When you log in to the Portal the first time you will have an Application created for you called “my-first-application”. Application is like a project where you can manage the model, the data used for additional training, and your concepts, should you need any. The good thing is that you do not need to train your model, but you can use one of many readily available. In fact, “my-first-application” is backed by a state-of-the-art image recognition model already and it’s fully production-ready. That’s what we will use for Zapier in just a second.
How to use your Clarifai application from Zapier
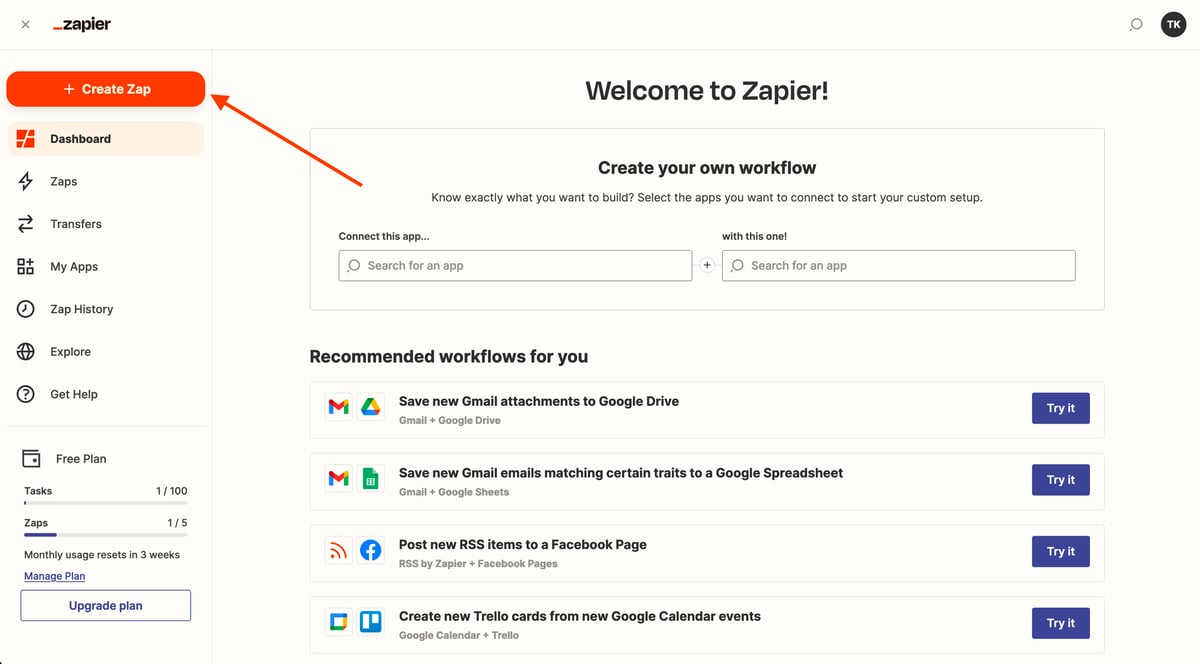
First off, go to the Zapier registration page and create a free account. After that, you will see a dashboard with your Zaps. In our example, let’s build an automation that runs image recognition for new images uploaded to Dropbox. Hit “Create Zap” and let’s get started with leveraging AI:
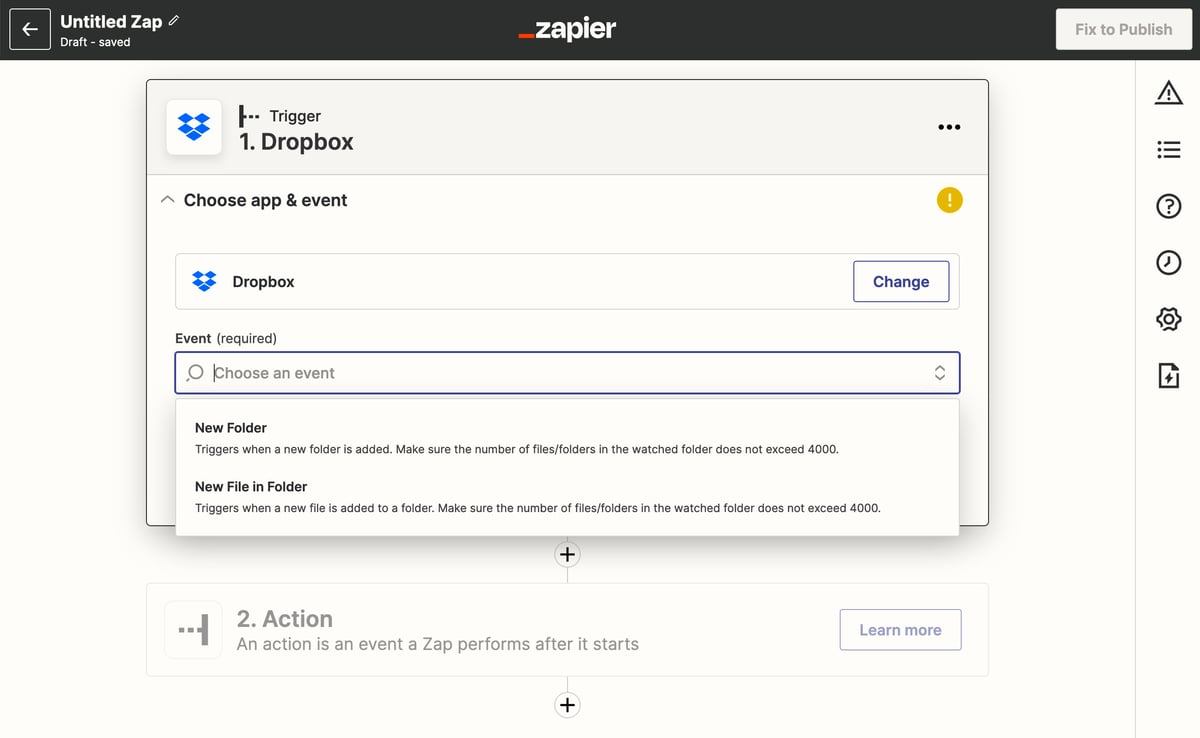
In the event, select Dropbox and “New file in folder”. This will trigger our automation every time there’s a new file in the folder you will select later. Press “Continue” and Zapier will ask you to connect your Dropbox account.
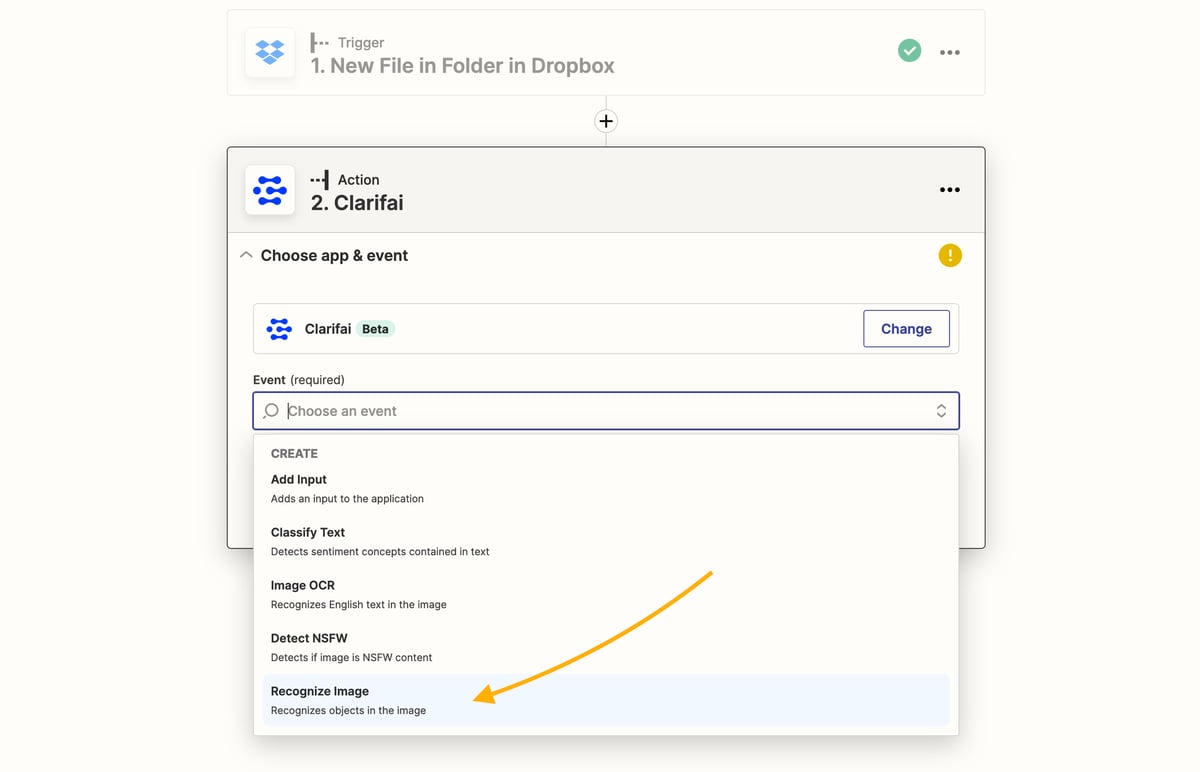
After you have done so, we can move to configure an Action. Here we will use the Clarifai account you created before. In the app field, search for “Clarifai” and in the action select “Recognize Image”.
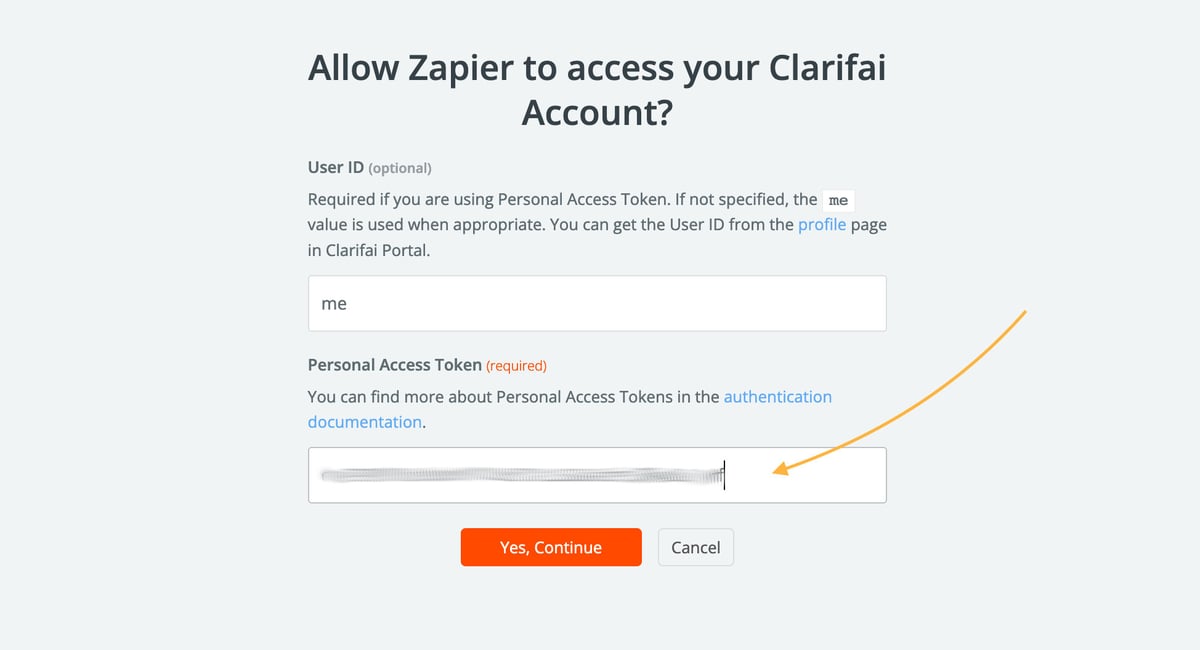
Press “Continue” and Zapier will ask you to connect your Clarifai account. For connection it will ask you for a Personal Access Token (PAT) and here’s how you can get one. Go to Clarifai’s User settings’ “Security” section. There you will find a “Create Personal Access Token” link.

Call this token “Zapier integration token”, select “All scopes” and press “Confirm”. Now you will be able to copy the token from the list below and paste it into Zapier's login form.
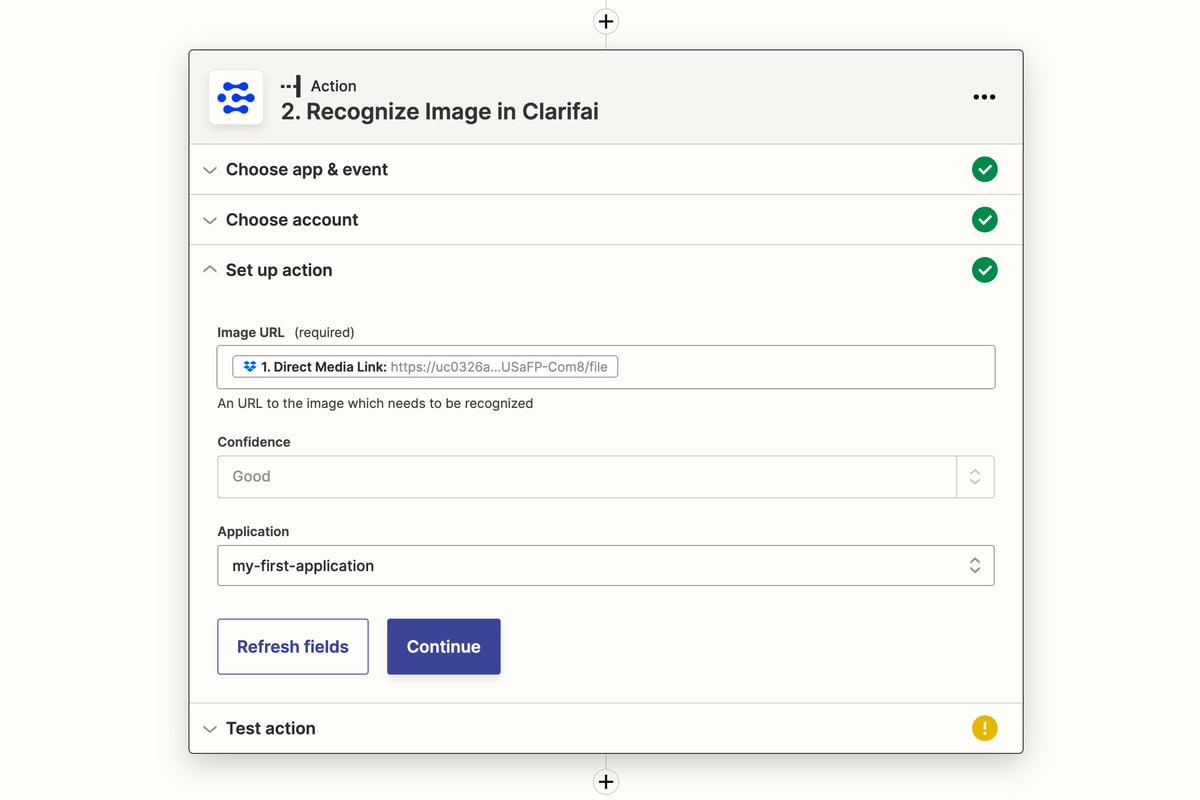
When your account is connected, press “Continue” and proceed to set up the Action. Select “Direct Media Link” in the Image URL and select “my-first-application” from the Application dropdown. As noted before, the pre-created application in Clarifai Portal is ready to be used right away.
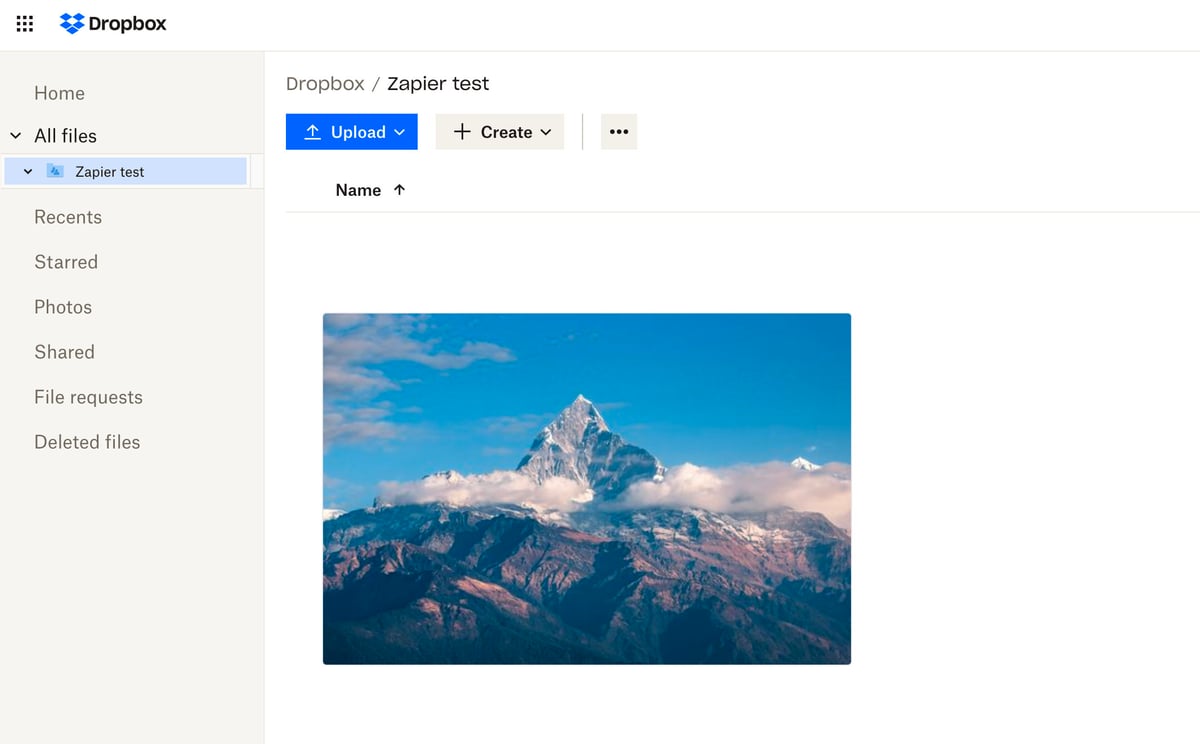
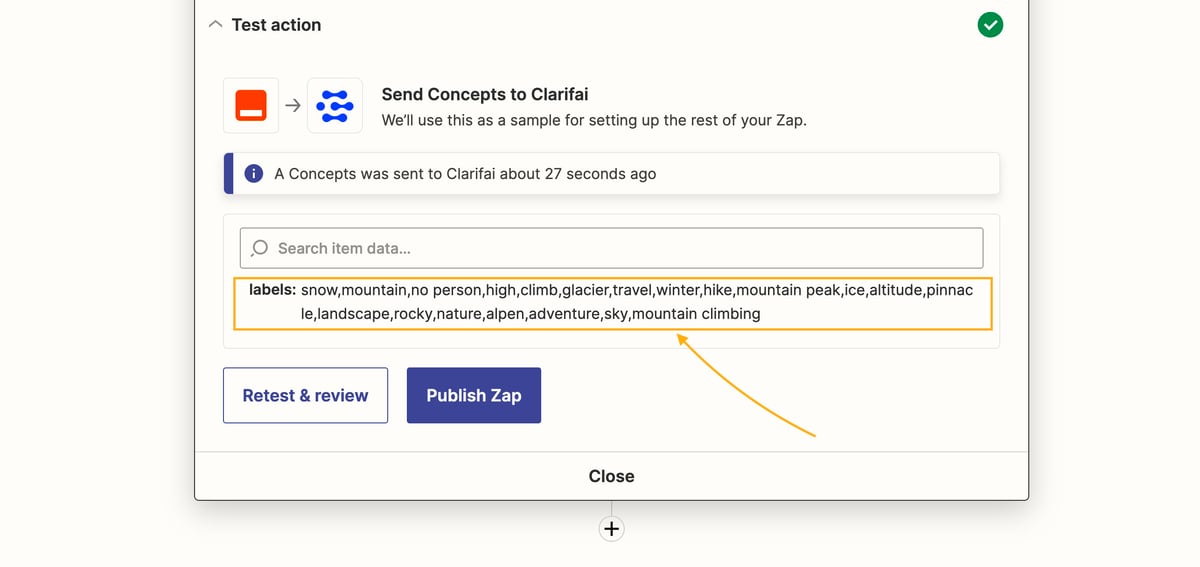
Now you can upload some files to Dropbox to test the connection. In our example, we used a stock image of a mountain.
When the file is ready, you can press “Test & Continue” in Zapier. You should see the labels as an output of the “Recognize Image” step.
Now you can get creative and decide what to do with the labels. You can simply add them to the Google Sheets or you can create a Slack notification. Your call!
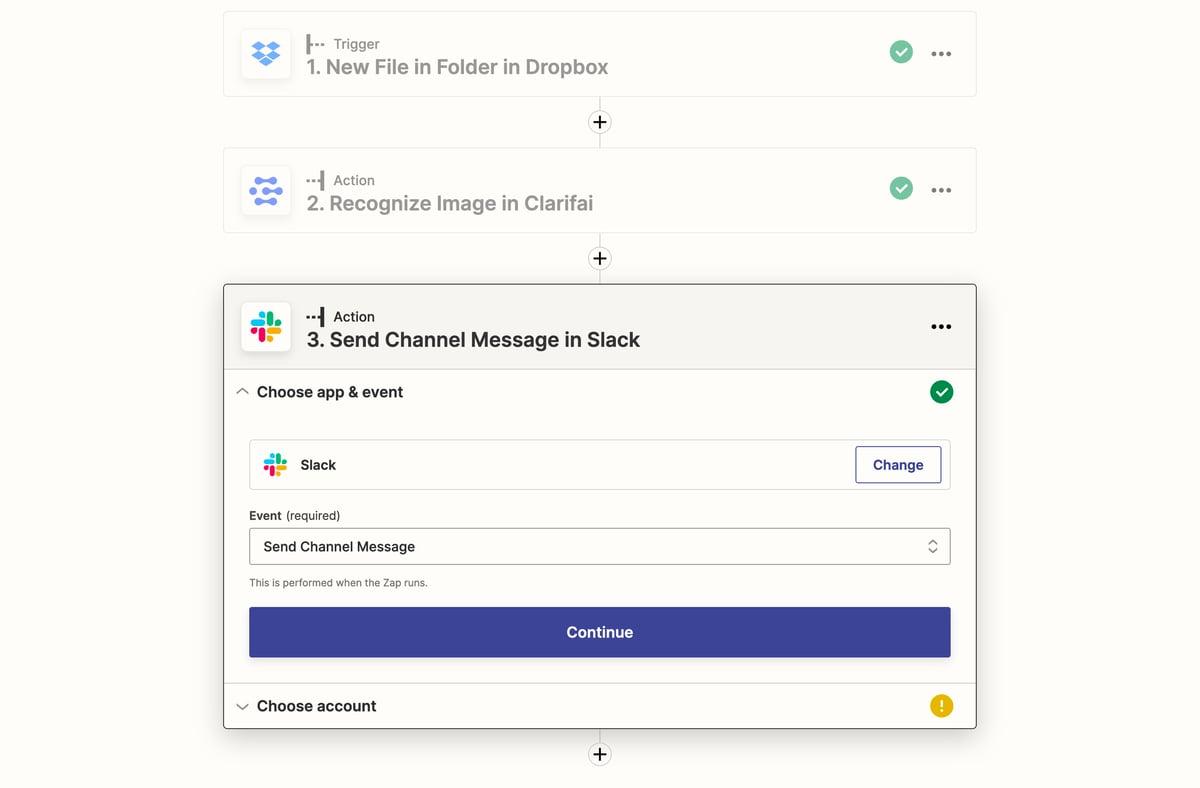
You can easily add conditional logic as a “Filter” step if you want to execute the next step (e.g. send a Slack message) only if the labels contain certain words.
When you are satisfied with the result, press “Publish” and your Zap will become live. Note that a free Zapier account is limited to how many times per month a single Zap can run and how many steps a single Zap can have. Either way, now you can leverage Clarifai’s AI platform to integrate AI models into thousands of other applications via Zapier and it takes only a couple of minutes to start!
To use Clarifai integration with Zapier yourself, start here.